Showing posts with label sharepoint 2013. Show all posts

Tuesday, April 21, 2015

Impersonating user in Sharepoint Server Object Model

Hi Readers,

I came across a requirement to upload some files using a console application to sharepoint, but there was a workflow which needed to started when an item is added, so using System Account was not an option.

This is a way to impersonate the user and access the web.


//Connect to the site as System Account
using (SPSite site = new SPSite("Site URL"))
{
    using (SPWeb web = site.OpenWeb())
    {
        //Get the spuser object from the site
        SPUser userToImpersonate = web.EnsureUser(@"Domain\username");

        //Connect to the site again using the Token
        using (SPSite impSite = new SPSite("Site URL", userToImpersonate.UserToken))
        {
            using (SPWeb web2 = impSite.OpenWeb())
            {
                //Impersonated Block
            }
        }
    }
}


Happy Coding
Guruparan Giritharan

Monday, October 6, 2014

Deploying Lists and Adding new lists via features

Hi Readers,

This post will give you information on deploying lists , making changes to the lists and adding new lists to the Sharepoint site in O365 or on premise.

What we are using here is feature upgrades, its simple and fast also Sharepoint manages most of the work.

Lets go step by step

First create a project and add a list

Add a new column and name it description


Now from the solution explorer open "Feature1" this will be the feature which we'll be using to deploy and update our lists


 Now press F4 or open the properties pane and give a version to the feature, as its the first deployment I've put version 1.0.0.0

Now package the WSP and upload it the the solution gallery, you can get to solution gallery by going to "Site settings -> Solutions" , and activate the solution.

Now go to site features from site settings and you can view the feature that we have deployed, activate it.


Now our list will be created.


As we have deployed the list, lets see how we can upgrade it, for this I'm going to add a new column to the list,that is called SubTitle

Now open the feature1 again and give it a new version number "2.0.0.0"

Providing a new version number will not update it, we'll have to edit the feature's manifest to do this,
First open feature1 and move to the manifest tab.

 At the bottom you'll see a link saying "Overwrite generated xml file", now you'll see the screen below click the "Edit manifest in the xml editor"

Click that and you'll see the manifest of the feature, the manifest will look like this

Now we'll have to edit the manifest and add upgrade actions to it, here we are asking sharepoint to apply the element manifest if the version is greater than 2.0.0.0.


Now package the WSP.
Here we'll have to do another step before deploying , that is rename the file, then only sharepoint will ask to upgrade it.

Upload the new file and it'll ask you to upgrade the solution. click upgrade.

 Now you can see that the newer version is activated.


 If you go to your list it'll be updated and the new column will be there.


Now we'll see how to add a new library to our feature.
Add a new list and select the type as library


Now you'll see that a new feature is added to your solution, you may delete it, because its not required.


Open the feature again but this time we'll need to go the edit manifest screen and copy the upgrade actions we did in the last part,
Keep it safe in a notepad.

And click the "Discard manifest edits..." and now you can add the new library to the feature using the UI.

Again go to manifest tab and go to XML editor , here we'll have to update the version number and add new upgrade actions, you can see the edits that are done to the xml file. Also the version is increased as well.


You may create the wsp and upgrade the solution but the list will not be created.


If you increase the version again and deploy n upgrade the solution , the list will be created.


You can see that the latest version is activated.

And now your library is created.
You can use this technique to update lists and add new lists, any site that is having this feature will be upgraded and the new lists will be created.

Happy Coding
-Guruparan Giritharan-

Saturday, July 20, 2013

Installing Sharepoint 2013

This post will be a guide on installing sharepoint 2013.
This will be a process which has several steps.
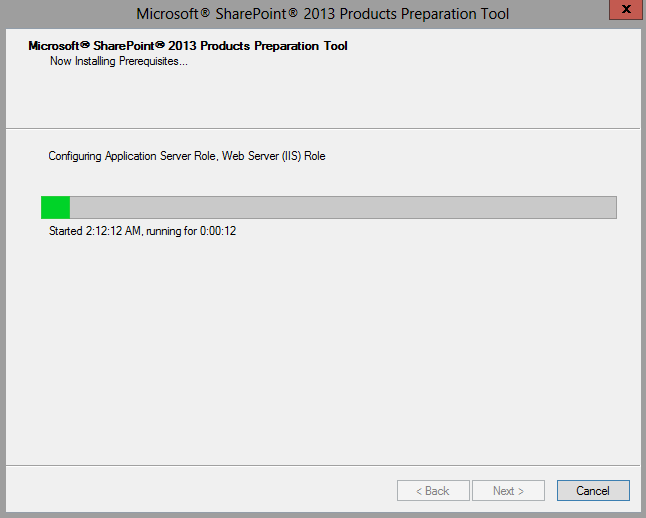
First we'll have to run the Sharepoint Prerequisite installer which will check for some software in your server and install them if they are not available enable the required roles in the server.

Step 1 - Prerequisite installer

The Prerequisite installer is very simple and you just have to click the next buttons to continue with the setup.
As this enables some some server roles this will require you to restart the server.


Step 2 - The Sharepoint setup
first open the setup.exe

It'll require you the key , you can provide the key that you purchased from Microsoft.
Then the license agreement, well accept that and click continue.
Then you'll have to select the installation type, here I'm installing for a farm so its a full installation, you can do a stand alone installation for development environments.
this step will require you to select the file locations as well.


 Then it will install Sharepoint 2013 in your server.
when the installation is done you can start the configuration wizard.


Step 3 - Sharepoint Product configuration wizard

This will help you to do the required configuration for Sharepoint.


when you click it'll ask whether to start some required services, click yes to continue.


In the next step you can choose to connect to an existing sharepoint farm or to create a new farm.
in this post we are going to create a new farm.


Then you'll have to select the database server for farm, it can even be the same machine if you are setting up a single machine.
then you'll have to give the farm password.
The next step will be selecting the port for Central Administration and the security type
The next page will be a summary of the information you have just provided,
you can click next if everything is ok.
Now the configuration wizard will run and do the required configuration.
After the wizard complete it'll show a summary again saying that the configuration is successful.


Now that the installation and configuration is done, you can open the Central Administration using Internet Explorer.

Step 4 - Central Administration
The first window will ask you whether you want to be enrolled in the customer experience improvement program, select your preference.
Then the CA will show you a page to do the required configuration. you can choose to do it later.
this is basically starting the services.
if you choose to start the wizard you'll be shown a list of service applications that are to be started.
you can choose the ones you want to run in your farm. you can provide an account for the service applications.
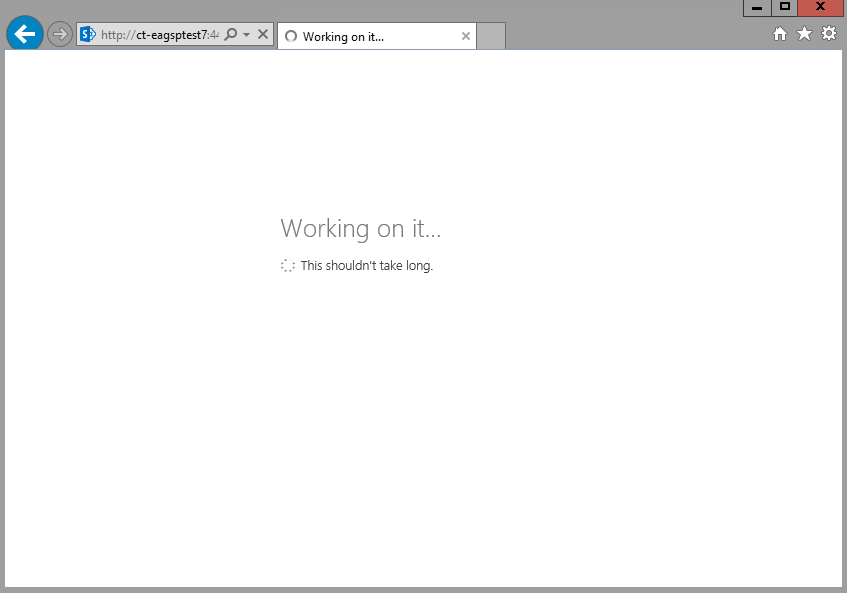
When you click next, it will show the Working on it window, after that you can create web applications.


Thats it your Sharepoint 2013 farm is ready :)