This will be a process which has several steps.
First we'll have to run the Sharepoint Prerequisite installer which will check for some software in your server and install them if they are not available enable the required roles in the server.
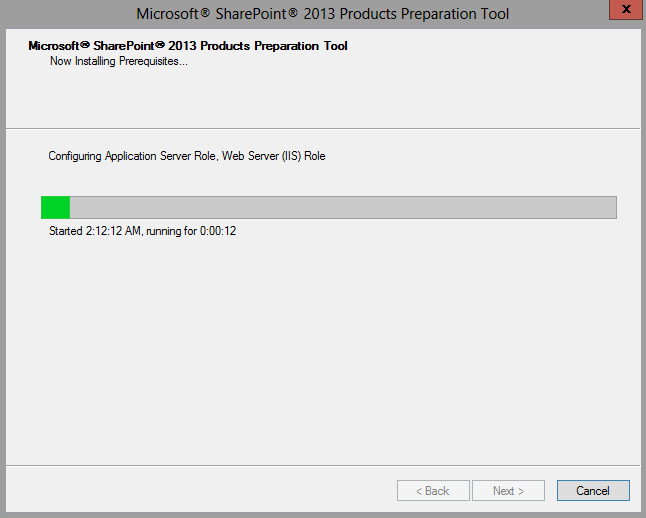
Step 1 - Prerequisite installer
The Prerequisite installer is very simple and you just have to click the next buttons to continue with the setup.
As this enables some some server roles this will require you to restart the server.


Step 2 - The Sharepoint setup
first open the setup.exe
It'll require you the key , you can provide the key that you purchased from Microsoft.


this step will require you to select the file locations as well.


Then it will install Sharepoint 2013 in your server.


Step 3 - Sharepoint Product configuration wizard
This will help you to do the required configuration for Sharepoint.

when you click it'll ask whether to start some required services, click yes to continue.

In the next step you can choose to connect to an existing sharepoint farm or to create a new farm.
in this post we are going to create a new farm.

Then you'll have to select the database server for farm, it can even be the same machine if you are setting up a single machine.


you can click next if everything is ok.


Now that the installation and configuration is done, you can open the Central Administration using Internet Explorer.
Step 4 - Central Administration
The first window will ask you whether you want to be enrolled in the customer experience improvement program, select your preference.

this is basically starting the services.

you can choose the ones you want to run in your farm. you can provide an account for the service applications.

Thats it your Sharepoint 2013 farm is ready :)
No comments:
Post a Comment